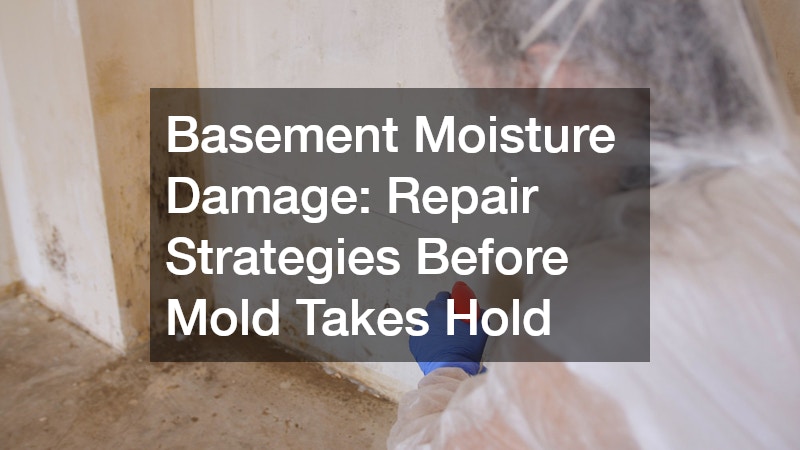
A damp basement is more than a nuisance—it is an early warning sign that your home is under attack from water intrusion, and every day that moisture lingers, the odds of mold, wood rot, and structural damage climb higher. Many homeowners wait until they see visible mold or smell a musty odor before taking action, but by then the damage is often already done. The good news is that most basement moisture problems follow predictable patterns, and catching them early can save you thousands of dollars in repairs. This guide walks you through the most common sources of basement moisture and the repair strategies that stop water in its tracks before mold has a chance to take hold.
Identify the Warning Signs of Basement Moisture Early
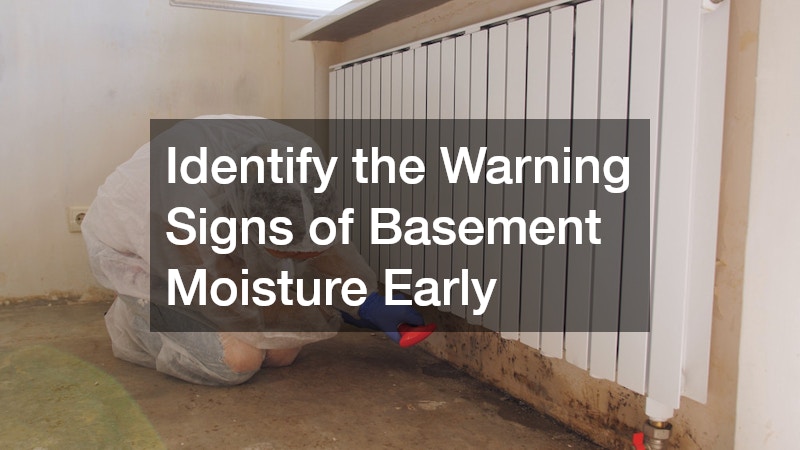
Pay attention to smaller details too. Rust forming on metal fixtures, fasteners, or appliance legs suggests chronic humidity above the normal 50-60% range recommended for basements. Wood trim, shelving, or even a granite countertop on a basement wet bar can develop a hazy film or spongy surrounding cabinetry when humidity runs high, as is condensation collecting on windows, pipes, or the surface of a water heater tank.
- White chalky residue (efflorescence) on concrete walls or floors, a sign that water is moving through the concrete and leaving mineral deposits behind
- Peeling paint or bubbling drywall near the foundation line, usually starting within the bottom 12 inches of the wall
- A persistent musty or earthy smell, even after cleaning, which often signals mold growing behind walls or under flooring
- Warped baseboards, soft drywall, or rusted metal fixtures, all signs of prolonged moisture exposure rather than a one-time spill
- Condensation on windows, pipes, or the surface of concrete walls, especially noticeable during humid summer months
- Small cracks in the foundation or floor slab that widen over time, often letting groundwater seep in after heavy rain
- Discoloration or dark staining on carpet, flooring, or the base of stored boxes, indicating water has been wicking upward
- A noticeable spike in indoor humidity, easily checked with an inexpensive hygrometer; readings consistently above 55% warrant a closer look
Inspect Your Foundation for Cracks and Water Entry Points

Foundation cracks are one of the most common culprits behind basement water intrusion. Hairline cracks may seem harmless, but over time hydrostatic pressure from the surrounding soil forces water through even the smallest openings. A careful inspection twice a year, especially after heavy rain or snowmelt, can catch these problems while they are still manageable. Walk the interior perimeter of your basement with a flashlight, checking walls, the floor-wall joint, and around window wells and utility penetrations. Vertical or diagonal cracks under 1/8 inch are usually just settling and can often be sealed with epoxy injection, while horizontal cracks or ones wider than 1/4 inch may signal structural stress from soil pressure and warrant a professional evaluation. Don’t overlook the areas around pipe entries, sump pump liners, and old anchor bolt holes, since these are frequent, easy-to-miss entry points for water. Outside, check where the foundation meets the soil for gaps, efflorescence (that white chalky residue left by mineral deposits), or discoloration, all of which suggest moisture has been seeping through for a while. Pay attention to grading as well; soil that slopes toward the house rather than away from it will funnel water directly against vulnerable foundation walls. Keeping a simple log with photos and dates of each inspection makes it easier to spot whether a crack is growing or a damp spot is spreading over time.
Start with a slow walk around your basement’s perimeter, both inside and out, checking walls, corners, and the areas where the floor meets the foundation. Bring a flashlight and look closely near window wells, utility penetrations, and the base of the walls, since these spots are especially prone to water intrusion. Hairline cracks under 1/16 inch that run vertically are usually just the result of normal concrete curing and shrinkage, and rarely cause concern. Pay closer attention to horizontal cracks, stair-step patterns in block walls, or any crack wider than 1/8 inch, since these often point to hydrostatic pressure or foundation movement rather than simple settling. A crack that bows inward, even slightly, is a red flag that should never be ignored. Efflorescence, the white chalky residue left behind after water evaporates, is another sign that moisture is finding its way through the concrete even if you never see standing water. If you notice active seepage, staining, or a crack that has widened since your last check, it is worth consulting a professional before sealing it yourself. Some cracks are cosmetic, but others signal shifting or settling that requires structural attention. Taking photos with a ruler for scale every few months can help you and any contractor track whether a crack is stable or actively growing. Waiting too long can turn a simple patch job into a much larger repair involving underpinning, wall bracing, or carbon fiber reinforcement strips. These structural fixes can run into the thousands of dollars, compared to a few hundred for an early epoxy injection. Catching the problem while it’s still cosmetic is almost always the cheaper and less disruptive path.
- Check corners and where walls meet the floor, common weak points where settling and hydrostatic pressure concentrate stress
- Look for horizontal cracks, which may indicate soil pressure issues and potential structural concerns—these warrant a professional assessment sooner than vertical ones
- Distinguish crack types: vertical cracks under 1/8 inch are often just curing shrinkage, while stair-step cracks in block walls suggest foundation movement
- Note any changes in crack width using a pencil mark and date, or install an inexpensive crack monitor for cracks wider than 1/4 inch
- Inspect around windows, pipe penetrations, and cove joints (where wall meets floor) for staining, efflorescence, or damp patches
- Address exterior grading if water pools near the foundation—soil should slope away at least 6 inches over the first 10 feet
- Check gutters and downspouts to confirm they discharge water at least 4-6 feet from the foundation
Address Crawlspace Moisture Before It Spreads to the Basement
Many homes have a crawlspace that sits adjacent to or beneath part of the basement, and moisture here can migrate upward if left unchecked. A damp, unsealed crawlspace acts like a sponge, feeding humidity into the rest of the home and creating an ideal breeding ground for mold and wood-destroying insects. Proper crawlspace repair typically involves sealing vents, adding a vapor barrier, and sometimes installing a dedicated dehumidifier.
Homeowners often overlook this space simply because it is hard to access, but neglecting it can undo even the best basement waterproofing efforts. If insulation in the crawlspace is sagging, moldy, or missing altogether, that is a strong signal that moisture has already taken hold. Getting this space dried out and sealed should be considered a foundational step, not an afterthought, in any whole-home moisture strategy.
Keep Your Sump Pump and Drainage System Working Properly
A sump pump is one of the hardest-working appliances in your home, yet it often gets ignored until it fails during a storm. Testing it every few months by pouring water into the pit and watching it activate is a simple habit that can prevent a basement flood. Battery backup systems are worth the investment for homeowners in areas prone to power outages during heavy storms.
Beyond the pump itself, the surrounding drainage system needs attention too. Clogged or damaged drain tiles around the foundation perimeter can cause water to back up instead of flowing away from the house. Scheduling regular drain cleaning for both interior and exterior drainage lines helps ensure water has a clear path out, reducing the strain on your sump pump and lowering the risk of standing water in your basement.
- Test the sump pump quarterly and after major storms
- Clear debris from the pit and check the float switch
- Inspect discharge lines to make sure water drains well away from the foundation
- Consider a battery backup for power outage protection
Check Gutters, Downspouts, and Roof Drainage Regularly
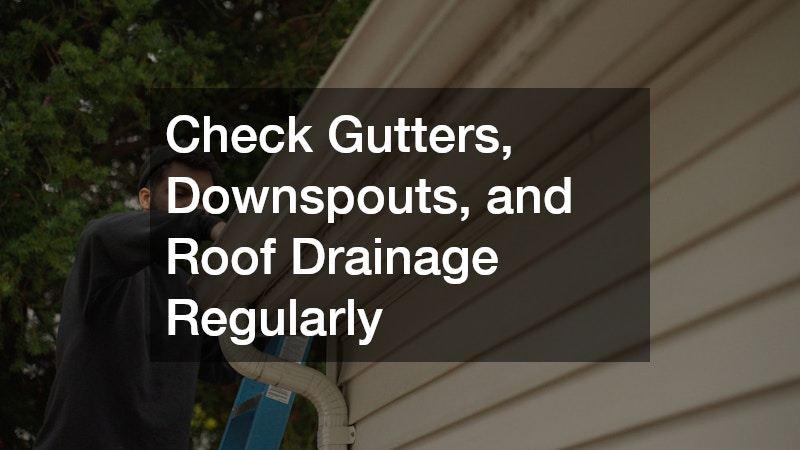
It might seem unrelated, but what happens at your roofline has a direct impact on your basement. Gutters clogged with leaves and debris cause water to overflow and pool right at the foundation, which is exactly where you do not want it. Cleaning gutters twice a year and extending downspouts at least four to six feet from the house can dramatically reduce the amount of water pressing against your basement walls.
If you notice water stains on your ceiling, missing shingles, or sagging rooflines, these issues can eventually contribute to moisture problems throughout the house, including the basement. Timely roof repair prevents water from finding its way behind siding and down into the foundation area. A roof in good condition is one of the simplest and most cost-effective ways to protect the rest of your home from water damage.
- Clean gutters at least twice a year, more often near trees
- Extend downspouts away from the foundation
- Repair loose or missing shingles promptly
- Watch for granule buildup in gutters, a sign of roof wear
Manage Yard Grading and Outdoor Drainage Features
The land immediately surrounding your home plays a bigger role in basement moisture than most homeowners realize. If your yard slopes toward the house rather than away from it, every rainstorm sends water straight toward your foundation. Regrading the soil so it slopes away from the house at least six inches over the first ten feet is one of the most effective long-term fixes available.
Outdoor features can either help or hurt this balance. Poorly placed landscape lighting services installations, for instance, sometimes require digging that disrupts natural drainage patterns if not planned carefully around existing grading. The same goes for screen rooms and other outdoor additions, which often involve footings or concrete pads that can redirect runoff toward the foundation if grading isn’t accounted for during construction. Working with professionals who understand both aesthetics and water flow ensures your yard looks good without creating new pathways for moisture to reach your basement walls.
Understand How Sewer and Plumbing Issues Contribute to Basement Dampness

Not all basement moisture comes from outside the house. Aging or damaged sewer lines can leak slowly for months before any visible sign appears, and by the time you notice a wet spot or odor, significant water may have already saturated the surrounding soil and foundation. In older homes with clay or cast iron pipes, tree roots are a common cause of blockages and slow leaks that go unnoticed.
If you are dealing with recurring dampness near a bathroom or laundry area, it is worth having a plumber run a camera inspection of your lines. In some cases, full sewer line replacement is the only permanent fix, especially if the pipe has collapsed sections or extensive root intrusion. While this repair is more involved, it eliminates a hidden moisture source that no amount of surface-level waterproofing can solve.
- Watch for slow drains throughout the house, a sign of a larger blockage
- Note sewage odors combined with dampness, which suggest pipe failure
- Ask for a camera inspection if problems recur despite repairs
- Consider pipe age; homes over 40 years old are at higher risk
Control Indoor Humidity and Temperature Year-Round
Even a basement with no active leaks can develop mold if humidity levels stay high for extended periods. Basements are naturally cooler and less ventilated than the rest of the house, which makes them prone to condensation, especially in summer months when warm, moist air meets cool concrete surfaces. Keeping indoor humidity below 50 percent with a dehumidifier is one of the simplest ways to prevent mold growth even when no water is visibly present.
Some homeowners are also turning to whole-home systems that help regulate temperature and moisture more consistently throughout the year. A geothermal heating system, for example, can support more stable indoor humidity levels compared to traditional forced-air systems, indirectly benefiting basement conditions. While this is a larger investment, it is worth considering for homeowners already planning major HVAC upgrades who want long-term moisture control benefits.
Plan Structural and Renovation Projects Around Moisture Control
If your basement moisture problems are severe or tied to significant foundation damage, you may be facing a larger renovation than a simple patch and seal job. In these cases, working with custom home builders who understand moisture-resistant construction techniques can make a real difference in the long-term durability of the repair. They can incorporate proper vapor barriers, drainage boards, and moisture-resistant materials from the start rather than as an afterthought.
Larger projects sometimes require removing damaged materials entirely before rebuilding, and this is where professional demolition services become valuable. Safely removing mold-contaminated drywall, insulation, or flooring prevents spores from spreading to unaffected areas during the renovation process. Once the space is fully repaired and finished, some homeowners choose to add durable, moisture-tolerant finishes such as sealed concrete, epoxy coatings, or waterproof vinyl plank flooring that can withstand occasional dampness without warping or trapping mold. Working closely with custom home builders during this finishing stage also ensures that any new framing, insulation, or storage features are installed with continued moisture management in mind, rather than undoing the protective work done earlier in the project.
Basement moisture damage rarely fixes itself, and the longer it goes unaddressed, the more likely mold, wood rot, and structural issues become. By inspecting your foundation, crawlspace, drainage systems, and plumbing regularly, you can catch small problems before they become expensive emergencies. Take the time this season to walk through your basement with a critical eye, address what you find, and consult a qualified professional for anything beyond a simple patch or seal. Acting now is far cheaper, and far less stressful, than remediating mold later.