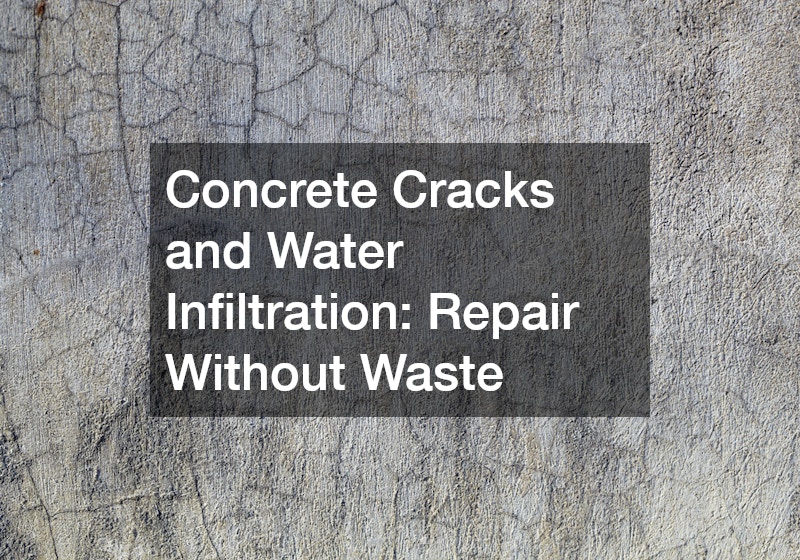
A hairline crack in your concrete floor or foundation wall might seem like a cosmetic nuisance, but left unchecked, it can become a pathway for water, pests, and structural damage that costs thousands to fix. The good news is that most homeowners can identify the warning signs early and make smart repair decisions before small problems turn into major renovations. This guide walks through the most common sources of concrete cracking and water infiltration around your property, room by room and system by system, so you know exactly what to watch for and when to call in help. Understanding these connections now can save you from wasted materials, wasted money, and wasted time later.
Identifying Hairline Cracks Versus Structural Cracks
Not every crack in concrete signals a serious problem. Hairline cracks that form during the curing process are usually cosmetic and can be sealed with a simple epoxy injection. Structural cracks, on the other hand, tend to be wider than a quarter inch, run diagonally, or appear alongside doors and windows that suddenly stick.
Learning to tell the difference before you start repairs prevents wasted materials and wasted effort. A crack that widens over a few months, or one that leaks water after every rainstorm, needs professional evaluation rather than a quick patch.
- Hairline cracks under 1/16 inch are typically shrinkage cracks
- Stair-step cracks in block or brick foundations often indicate settlement
- Horizontal cracks can signal soil pressure against basement walls
- Cracks near corners of windows or doors may point to structural shifting
Managing Roof Runoff and Gutter Drainage
A surprising number of foundation cracks trace back to water pooling near the base of the home rather than problems within the concrete itself. When gutters overflow or downspouts dump water too close to the foundation, that moisture seeps into the soil and puts pressure on basement walls. Many roofing companies now recommend extending downspouts at least six feet away from the foundation to reduce this risk.
Regular gutter maintenance is one of the cheapest ways to protect your concrete from long-term water damage. If you notice recurring dampness in a specific area of your basement, check the roofline directly above it before assuming the problem starts underground.
- Clean gutters twice a year to prevent overflow
- Install splash blocks or extensions on downspouts
- Grade soil away from the foundation at a slope of at least six inches over ten feet
- Watch for granule buildup in gutters, a sign your roof may need attention
Recognizing Septic System Backups That Mimic Foundation Issues
Homeowners sometimes chase a foundation leak for months before realizing the actual source is a failing septic system. When a septic tank or drain field becomes saturated, wastewater can back up and saturate the soil near your home, mimicking the signs of a cracked slab. In these cases, septic repairs are the real fix, not another round of concrete sealant.
Signs of septic trouble include slow drains throughout the house, a persistent sewage odor near the yard, and unusually lush or soggy patches of grass. If you notice these symptoms alongside basement dampness, it is worth having your septic system inspected before spending money on foundation work that will not solve the underlying issue.
- Slow or gurgling drains in multiple fixtures
- Standing water or soggy ground above the drain field
- Sewage smell near the yard or basement
- Sudden increase in basement humidity without a clear source
Waterproofing Bathroom Floors and Shower Pans
Interior concrete slabs beneath bathrooms are especially vulnerable to slow leaks that go unnoticed for years. A cracked shower pan or failed waterproofing membrane can allow water to seep into the subfloor and eventually reach the concrete slab below, leading to discoloration, mold, and even structural softening. If you are already planning updates, a bathroom remodeling contractor can inspect the pan and membrane while the space is opened up, catching problems before they spread.
Small signs like a soft spot near the toilet flange or a musty smell that lingers after showers should not be ignored. Catching these issues during a renovation is far less wasteful than tearing out finished tile work later to chase a hidden leak.
- Check caulking around tubs and showers every six months
- Look for discoloration on ceilings below upstairs bathrooms
- Replace worn wax rings under toilets promptly
- Test for soft or spongy flooring near water fixtures
Addressing Pest Damage That Worsens Existing Cracks
Cracks in concrete do more than let in water; they also create entry points for insects looking for moisture and shelter. Termites in particular are drawn to damp wood framing near foundation cracks, and once established, their tunnels can weaken structural supports that are already under stress from water damage. A termite removal service can identify whether pests have moved beyond the soil and into your home’s framing.
Addressing both the moisture source and the pest issue together prevents a cycle where repairs keep failing. Sealing a crack without treating an active termite colony nearby often means dealing with the same damage again within a year or two.
- Look for mud tubes along foundation walls
- Tap wood near cracks to check for hollow sounds
- Schedule annual pest inspections in humid climates
- Keep mulch and firewood away from foundation walls
Protecting Pool Decks and Surrounding Concrete Slabs

Concrete pool decks face constant exposure to water, chemicals, and temperature swings, making them prone to cracking faster than other outdoor slabs. When cracks form near a pool, water can seep underneath the deck and erode the base material, leading to uneven settling over time. Many pool companies recommend resealing decks every two to three years to prevent this kind of gradual undermining.
If you notice a section of pool deck sinking or pulling away from the pool’s edge, address it quickly rather than waiting for the damage to spread. Small repairs to expansion joints and sealant now are far less expensive than replacing an entire section of decking later.
- Reseal expansion joints annually in freeze-thaw climates
- Watch for cracks that align with the pool’s coping
- Keep drainage systems around the deck clear of debris
- Avoid harsh de-icing salts on pool concrete in winter
Sealing Garage Slabs Against Moisture and Vehicle Wear
Garage floors take a beating from vehicle weight, temperature changes, and de-icing chemicals tracked in during winter, all of which accelerate cracking. Water that seeps through these cracks can travel toward the base of garage door tracks, causing rust and misalignment over time. Some garage door companies note that moisture-related track problems are among the most common service calls they receive in colder regions.
Sealing your garage floor every few years with a quality concrete sealant helps block moisture before it reaches vulnerable hardware. Pairing this with a slight slope toward the garage entrance ensures water drains outward instead of pooling near the door mechanism.
- Apply concrete sealant every three to five years
- Clear salt residue from floors regularly in winter months
- Inspect door tracks for rust or misalignment each fall
- Keep weatherstripping intact to reduce water intrusion
Choosing Exterior Siding Materials That Resist Moisture Damage
While siding might seem unrelated to concrete cracks, the two are more connected than most homeowners realize. Poorly maintained or damaged siding allows water to run down exterior walls and pool at the foundation line, contributing to the same soil saturation that causes cracking. Engineered options like lp smartside siding are designed to resist moisture absorption better than older wood siding, reducing the amount of water that reaches the base of your home.
When replacing siding, pay close attention to flashing and caulking at the bottom edge where it meets the foundation. This transition point is where most water infiltration problems begin, and reinforcing it can meaningfully reduce pressure on your foundation over time.
- Inspect siding seams annually for gaps or warping
- Replace caulking at the base of exterior walls every few years
- Choose moisture-resistant materials in high-rainfall regions
- Check for staining near the foundation, a sign of runoff problems
Upgrading Interior Features That Reduce Humidity and Sun Damage
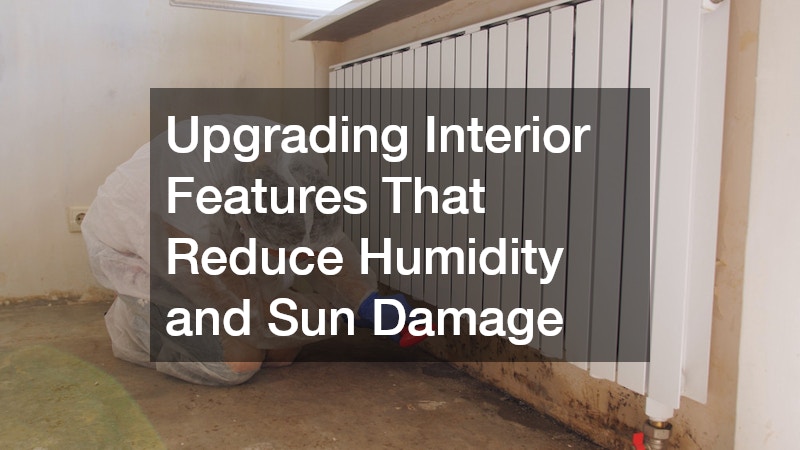
Interior humidity control plays a bigger role in concrete health than many homeowners expect, especially in basements and lower-level rooms with exposed slabs. When indoor air holds excess moisture, it condenses on cooler concrete surfaces, and that moisture works its way into existing hairline cracks, gradually widening them through freeze-thaw cycles or corroding any embedded rebar. Keeping indoor relative humidity between 30% and 50% with a dehumidifier or improved ventilation goes a long way toward preventing this slow, hidden damage. Reducing direct sunlight and heat buildup near windows can help manage indoor temperature swings that contribute to condensation on concrete surfaces. Rooms that heat up during the day and cool rapidly at night create the kind of temperature differential that encourages moisture to form on slabs, sills, and foundation walls. South- and west-facing windows are usually the biggest offenders, since they receive the most direct afternoon sun and heat exposure. Installing automatic blinds is one simple way to regulate light and heat throughout the day without constant manual adjustment. Programmed to close during peak sun hours and open during cooler morning or evening periods, automatic blinds keep interior temperatures more consistent and reduce the thermal stress that contributes to condensation. Many models also pair with humidity or temperature sensors, allowing them to respond automatically to changing conditions rather than relying on a fixed schedule. For homeowners already managing cracked or repaired concrete, this kind of passive climate control adds an extra layer of protection with very little ongoing effort.
Once cracks are sealed and drainage is corrected, the next step is addressing what happens above the slab. Basements, sunrooms, and ground-floor rooms near foundation walls are especially prone to humidity swings and UV exposure, both of which can accelerate concrete wear if left unchecked. Upgrading a few key interior features helps protect your repair work rather than undermine it. For homeowners updating flooring near these areas, natural stone options like travertine for sale at local suppliers offer a durable, moisture-tolerant alternative to materials that trap humidity against the slab. Unlike carpet or laminate, travertine allows some vapor movement and won’t warp, mold, or delaminate when exposed to residual dampness. It also holds up well against temperature swings near south-facing windows, where sun exposure can otherwise cause synthetic flooring to expand and crack. Pairing new flooring with a dehumidifier rated for the square footage of the space — typically 30 to 50 pints per day for an average basement — keeps ambient humidity below the 50% threshold where mold and efflorescence become concerns. UV-blocking window film or blinds in sun-exposed rooms further reduces heat buildup that dries out sealants prematurely. Combining smart climate control with the right flooring choice reduces the conditions that lead to surface moisture and long-term concrete deterioration, extending the life of both your repairs and your finished interior.
- Use a dehumidifier in basements with humidity above 55 percent; target 30-50 percent for optimal moisture control and mold prevention
- Choose flooring materials rated for below-grade installation, such as luxury vinyl plank, ceramic tile, or sealed concrete rather than hardwood or standard carpet
- Automate blinds to reduce heat gain during peak sun hours (typically 11 a.m. to 4 p.m.), which also limits thermal expansion stress on nearby walls and slabs
- Monitor windows near concrete slabs for condensation buildup, especially during seasonal temperature swings when indoor-outdoor differentials are greatest
- Install a vapor barrier beneath below-grade flooring to block moisture migration from the slab before it reaches finished surfaces
- Add weatherstripping or UV-filtering film to windows near foundations to cut both heat transfer and sun-driven material degradation
Planning Reinforced Concrete Additions for Emergency Preparedness

If you are already addressing cracks and drainage issues around your property, it is worth considering additional concrete work that serves a dual purpose. A properly engineered storm shelter, built with reinforced concrete and proper waterproofing, can double as a safe room during severe weather while avoiding the same moisture pitfalls that plague other slabs. Getting the drainage and sealing right from the start prevents the shelter itself from becoming a future water infiltration problem.
Anyone planning this kind of addition should prioritize the same drainage principles used elsewhere on the property, including proper grading and sump pump integration. Building it right the first time avoids costly rework and ensures the space remains functional when you need it most.
- Include a sump pump or drainage channel in the design
- Use waterproof coatings rated for below-grade concrete
- Position entry points away from low-lying runoff areas
- Schedule annual inspections to catch small cracks early
Concrete cracks and water infiltration rarely stem from a single cause, which is why a whole-property approach saves both money and frustration in the long run. By checking drainage, siding, plumbing, and even pest activity together, you can pinpoint the real source of a problem instead of patching symptoms repeatedly. Start with a simple inspection of your gutters, grading, and foundation walls this weekend, and address small issues before the next heavy rain arrives.